When you log into the Authoring Tool. You’ll always be brought to the “Dashboard” page.
On the “Dashboard” page, click the “Create New Course” button.
![]()
In the panel that appears on the right side of the page, click the “Create New Course” button next to the course structure you wish to use.
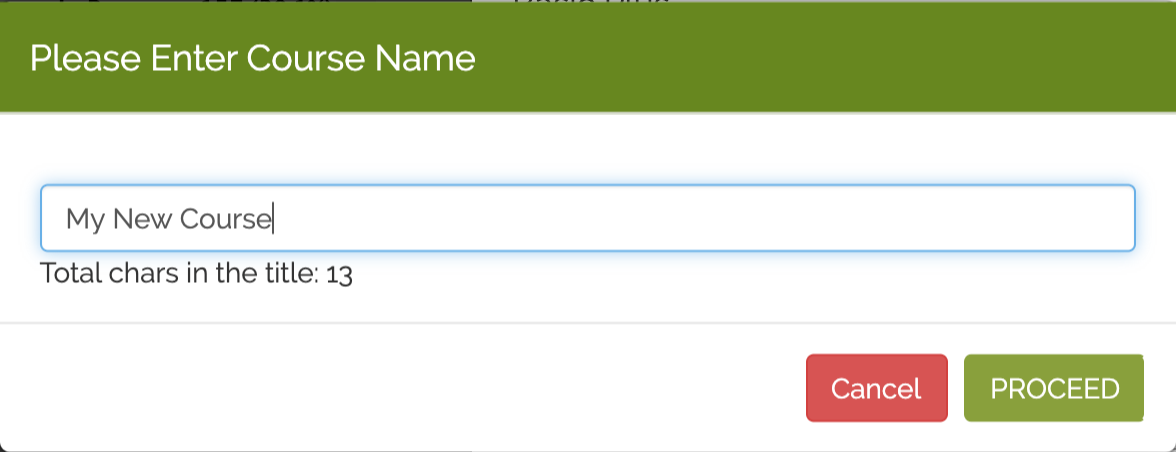
Name the course, and click the “Proceed” button.
Now that you have selected a starting structure for your course, you can choose to customize it by adding, deleting or renaming sections.
You can add an additional component by dragging it from the left column and dropping it into the desired location within the structure column. Components already in the course can be copied, moved or deleted by clicking the checkbox next to the component and clicking the “Copy,” “Move” or trash icon button.

Section headers can be edited by clicking on the component to expand it and entering a new header in the Section Title textbox:
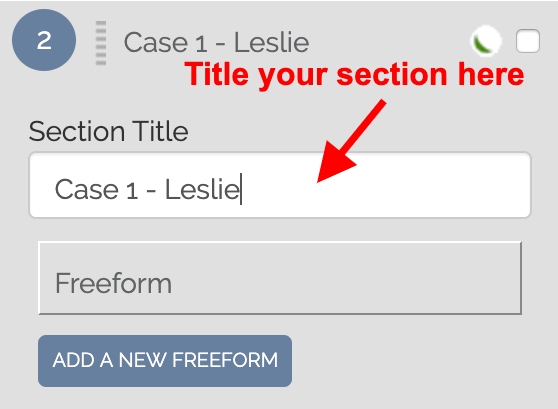
Additional pages can be added within any course section. These pages will share the same section header.
For example, to add an additional freeform page within the same component as above, click the “Add A New Freeform” button and a new page within that section will be created.
NOTE: While there are many default course structures available, only a few are regularly used. Feel free to view this article on Course Structures to learn more.