Commentary fields allows users to add a variety of content types to a page that can include text, charts, slides, graphics, photos, video or audio clips. Above every commentary field there is a toolbar that allows you to change formatting and/or add multimedia to your content.
To add multimedia to commentary fields:
- Place your cursor in the desired location where you wish to add the multimedia file.
- Click the appropriate icon: Image
 , Slideshow
  , Video*
  , or Audio
  .
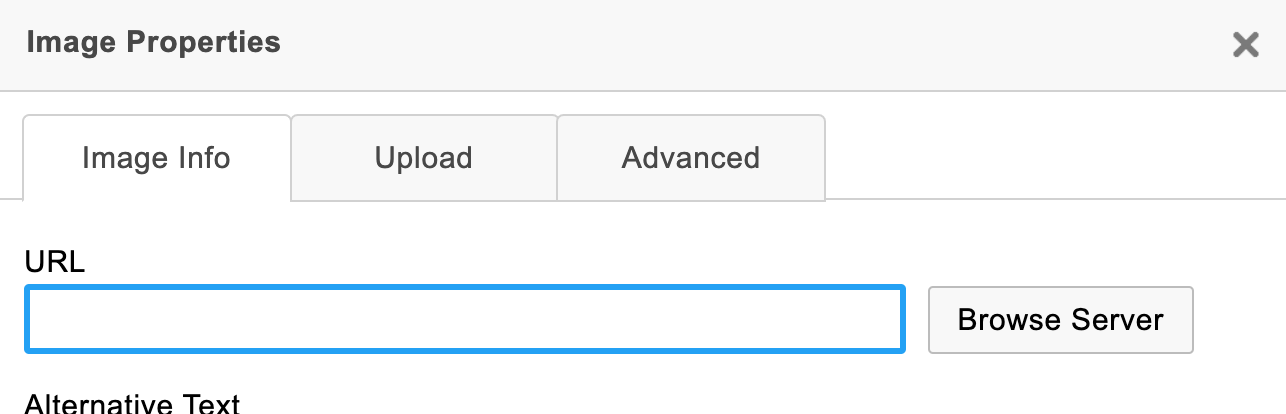
. - A new window will appear.
To upload an image, click on the “Upload” tab
Then click the “Choose File” button to find the image on your computer and upload it.
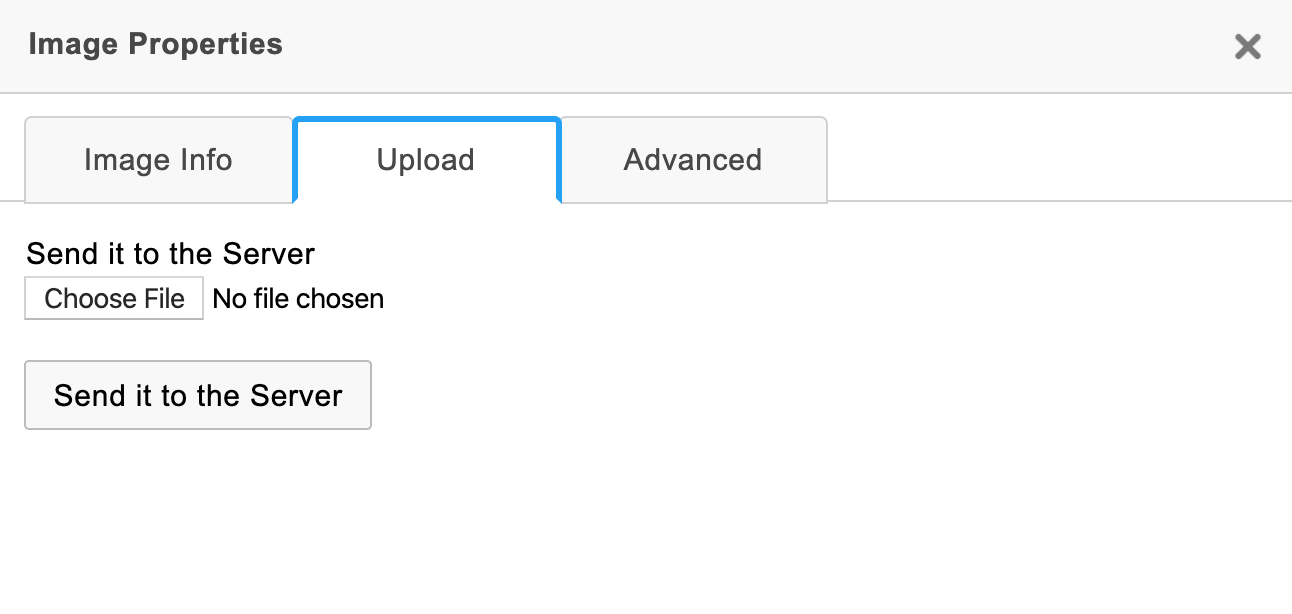
Once you’ve done that, make sure to click the “Send it to the Server” button. If you don’t, your image will not be saved.
After you’ve sent the image file to the server, you’ll return to this screen:
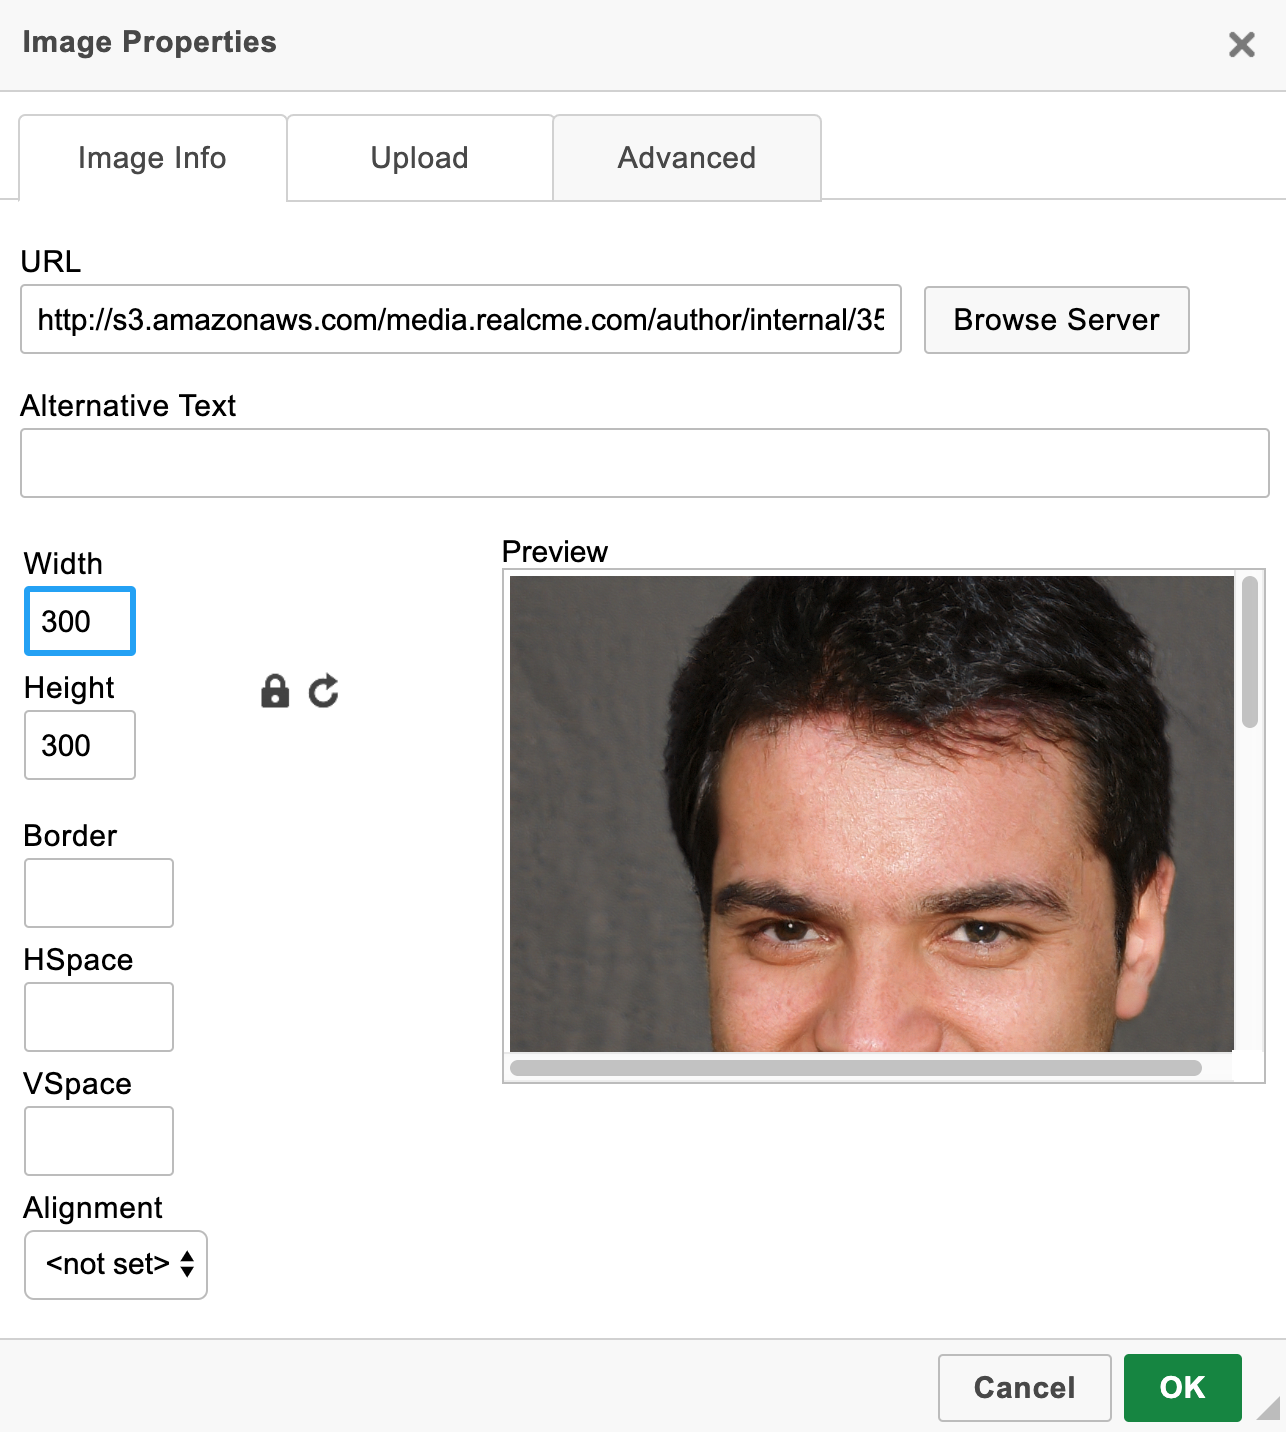
Adjust the size of your picture via the Width or Height (in pixels) by entering a number in either field. Hit OK to put the image into your content.
Add a Border by entering a number in the Border box. Add either Horizontal Space or Vertical Space around your image by putting a number in the “HSpace” and/or “VSpace” boxes. Have your text wrap around the image by setting the Alignment to the left or right.
Click the “Preview” link with any section you are working on to see how your picture is looking on the page. The main things to think about are: Is the image readable if there is text in it? Does the image balance out on the page well?
HINT: Upload an image with a high resolution because it will stay clear and easily readable when reduced down in size. It is always better to try to reduce a large image down than to try to increase a small image up. Images over 2000 pixels in size may not load into the system.
Adding Video or Audio is slightly different.
After clicking on the appropriate icon, you’ll see this window instead:
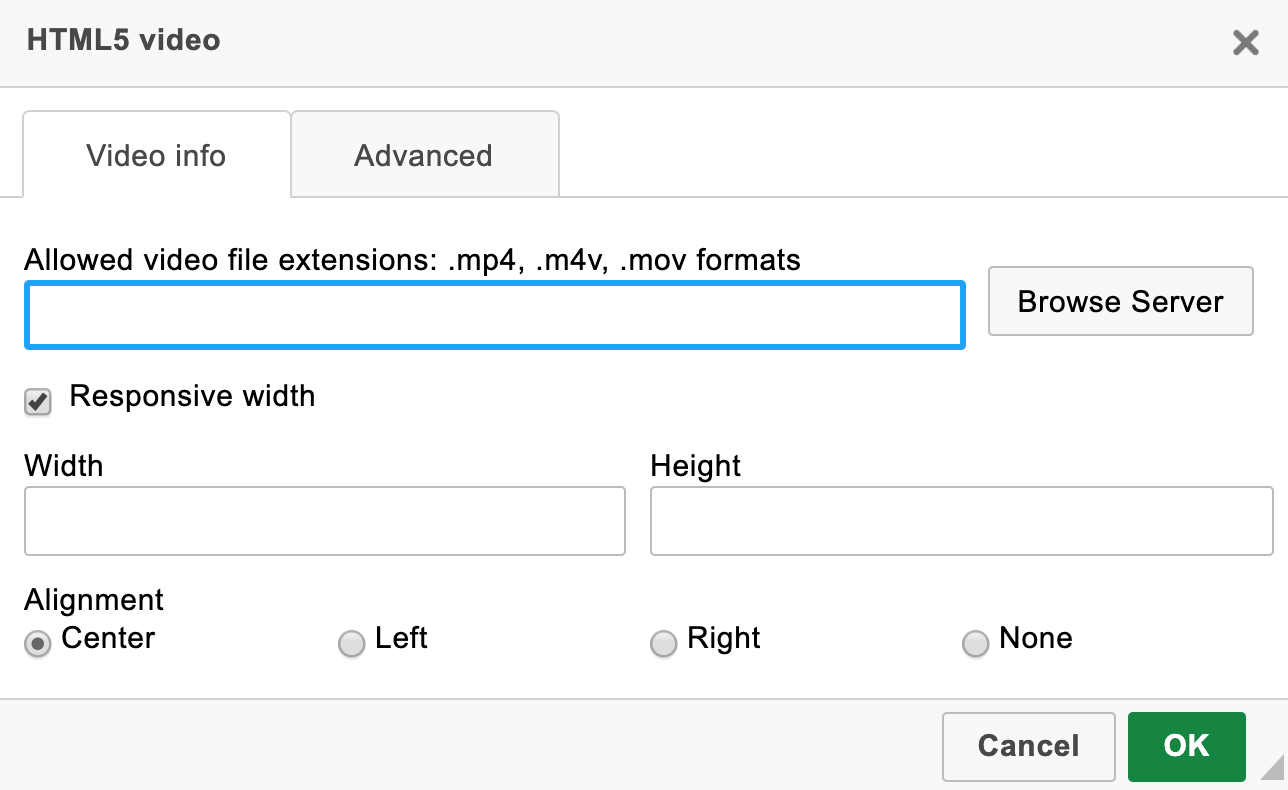
Click on “Browse Server”.
You’ll see this window open:
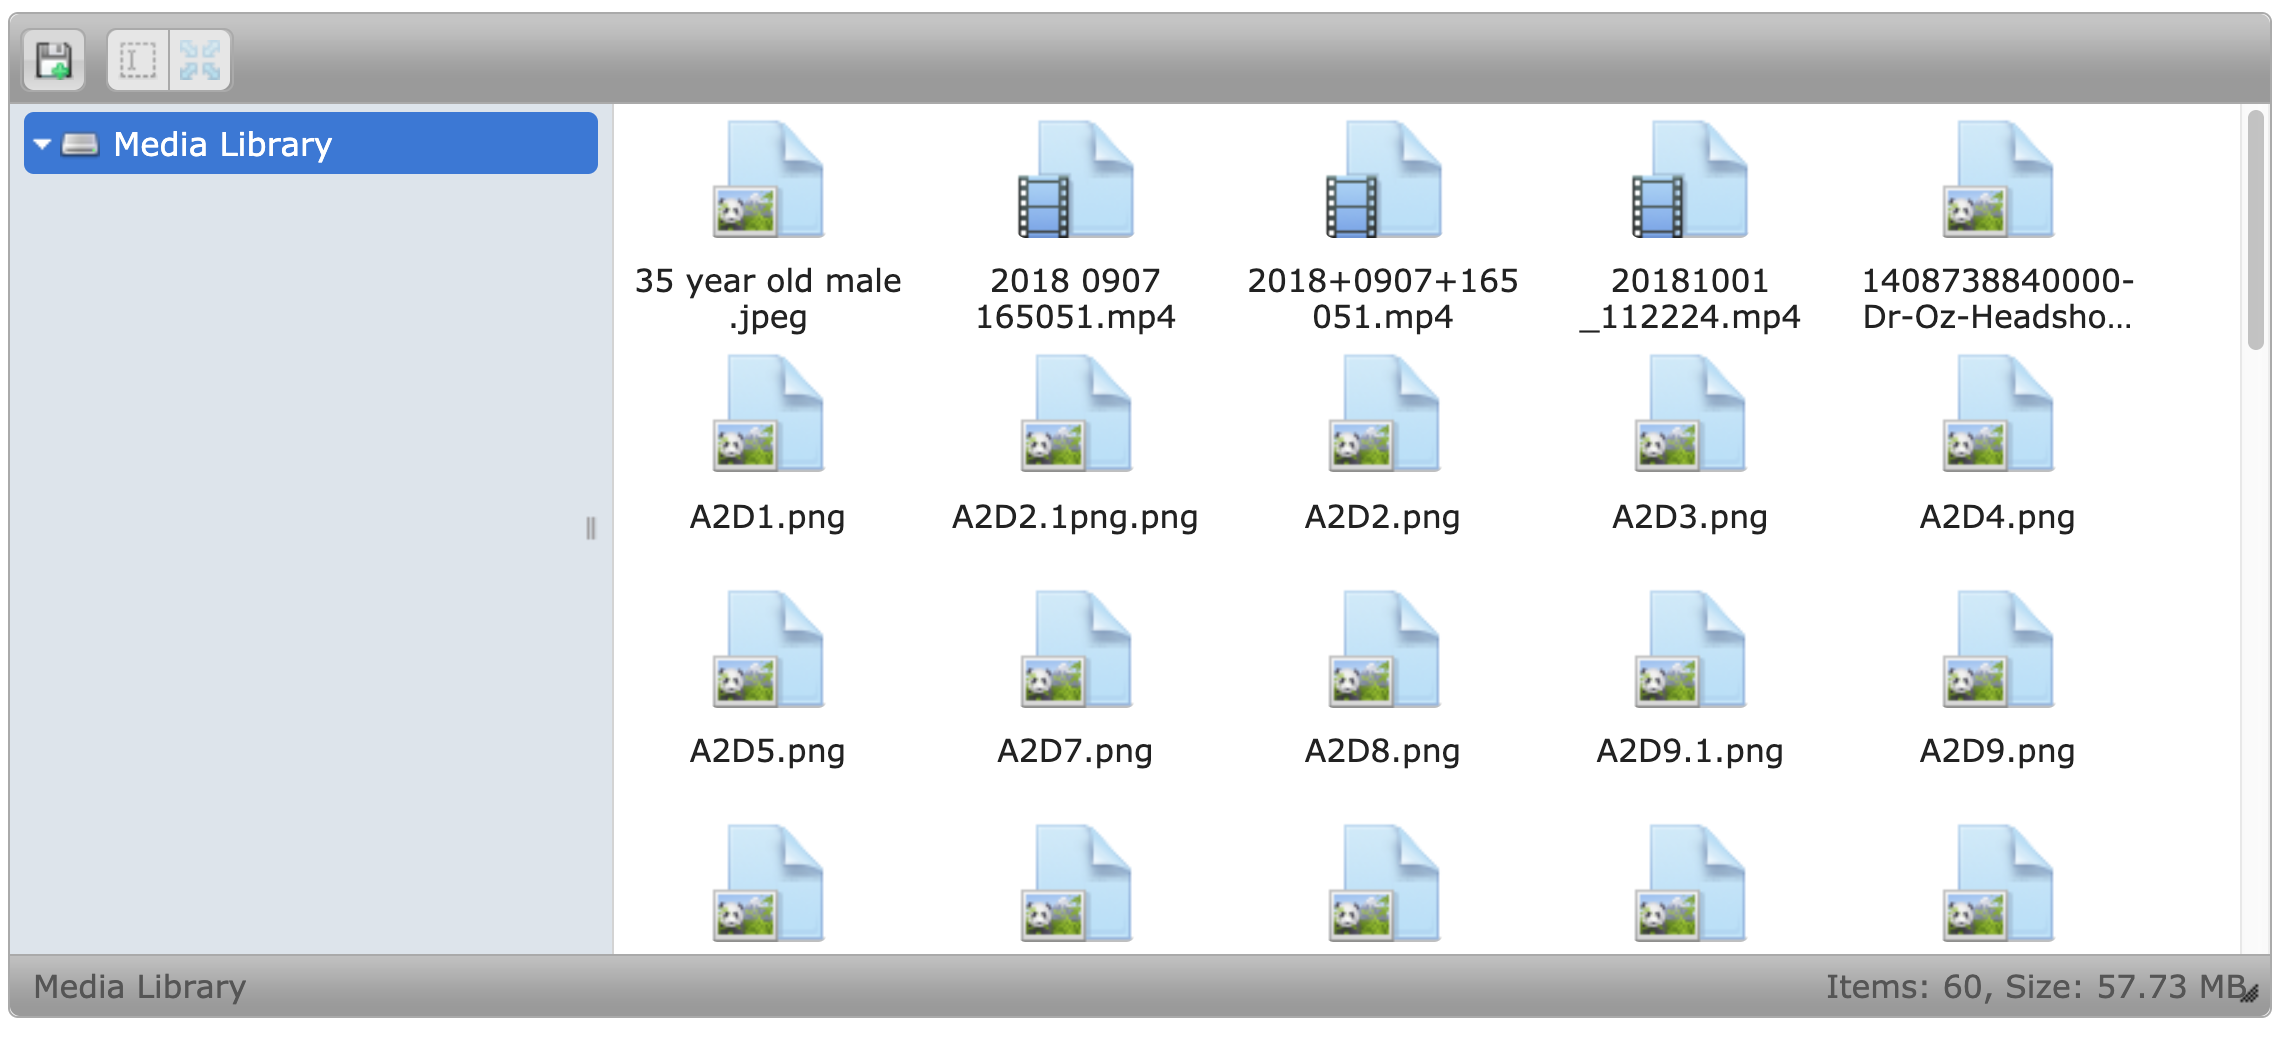
Click on the upload button ![]() to select your file, or click and drag your file to upload to our server.
to select your file, or click and drag your file to upload to our server.
HINT: Anytime you click on “Browse Server” you’ll be taken to the screen above. So you can easily access any image, video, or audio files you’ve already uploaded onto the server. You don’t have to re-upload the same media file repeatedly.
Multimedia must fit the following parameters:
| Images | Maximum Width: 500 pixels Acceptable Formats: JPEG, GIF, PNG |
| Slides | Present large images, or multiple images in a slide show. Learners will see a “Click on image to enlarge” message below the inserted images. When clicked, a separate pop-up window will open displaying the image(s). |
| Video | Acceptable Formats: .flv, .mov, .m4v, .mp4 |
| Audio | Acceptable Format: MP3 CD Quality – 44.1 kHz, 2 channels at 16 pits per channel of 2×16 bit, 320kbit/s |
*Please Note: Video files require transcoding after upload that may take several minutes depending on the size of the file, and produces a separate, smaller .mp4 file. After uploading your files to the server, you must wait for the transcoding to take place before adding videos into any section, and select the smaller .mp4 file that has the same name as the original video file.